2.7 KiB
| layout | title |
|---|---|
| documentation | SmartHome Designer |
{% include base.html %}
Eclipse SmartHome Designer
The Eclipse SmartHome Designer is a specialized version of the Eclipse IDE for openHAB. Just like known from other IDEs, the Designer allows to browse and edit the configuration files of your openHAB setup, with the advantage of syntax highlighting, syntax checking and autocompletion.
Network Preparations
If your openHAB instance is set up on a different device or a dedicated system, the Designer can be installed and executed on your personal PC or Mac. The Designer needs to be able to access the configuration files on the remote openHAB host.
You have to have a network share set up on the remote host and mounted on your local device. Steps needed to so are specific to the hosts operation system. How to setup and use Samba on a Linux system is described in the Linux article. If you are using openHABian, the needed set of network shares is already configured for you, you just need to mount them locally.
Attention Windows users: Directly accessing network shares (UNC paths) is not supported. Please be sure to mount the network share to a drive letter prior to using the SmartHome Designer.
Setup
- Get the latest version from: Eclipse SmartHome Designer Downloads (Note: the "Snapshot" build is currently not recommended for daily use)
The downloaded .zip archive contains the Designer executable.
- Windows: Extract the archive to a path of your choosing, e.g.
C:\designer - Linux: Extract the archive to a path of your choosing, e.g.
/opt/designer - Max OSX: Extract the archive to your applications folder
First Launch
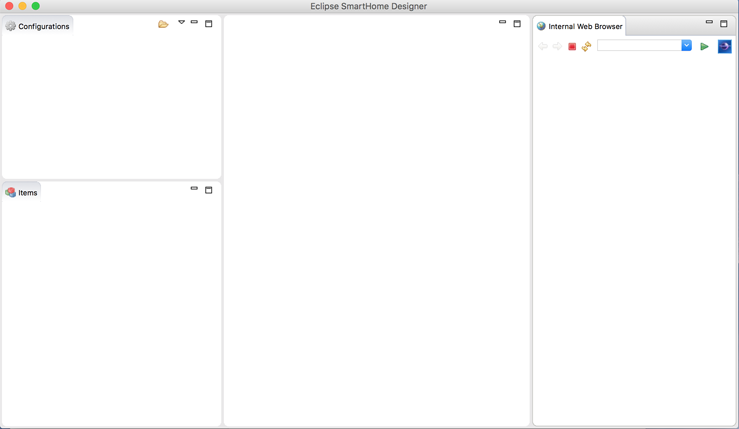
After launching the Designer executable, you will see an empty configuration file pane on the top left:
- Click on the "select a configuration folder" icon at the top right of the configuration window
- Navigate to your openHAB configuration folder (containing
items,rules, ...)

- The configuration pane should now list the different configuration folders:

Usage
You can now start to create and modify your configuration files. Changes are automatically loaded by the openHAB runtime. More details about the syntax of the different configuration files can be found in the Configuration chapter.
Hint: Press <Ctrl + N> to create a new file.